Go Back   Forum 4Tuning > Car-Audio, Multimedia & GPS > Arata-ti sunetul! > Sistemul Audio de pe Masina Mea

Sistemul Audio de pe Masina Mea Sistemul Audio de pe Masina Mea

Reply
 
Thread Tools
Old 03-09-10, 19:31   #1
robolop

Stage 2
 
robolop's Avatar
 
Join Date: Sep 2010
Posts: 26
Default BERYLLIUM BMW 323ci

A little word of me...
I was always interesting in car audio.It Is my biggest hobby , every time i got i spend it on the car.12 year ago i had a fiat 500.I whurk 3 years one the car for restoration it and building a stereo in it..I did some competition wit it and from the 19 games i did I when 17 first ..My second contest was at the european final in PARIS en i was second afther THOMAS (swipe) WESTMAN from sweden.The next year I was in BIRMINGHAM ( IASCA FINAL).I was first in my class and the first place BEST OF INSTAL.Then i make a decision to stop white contest.I was one my highest level .

In the years i was competing i was always working on the car for making it better and better.Evry minit I got I spend on the car..
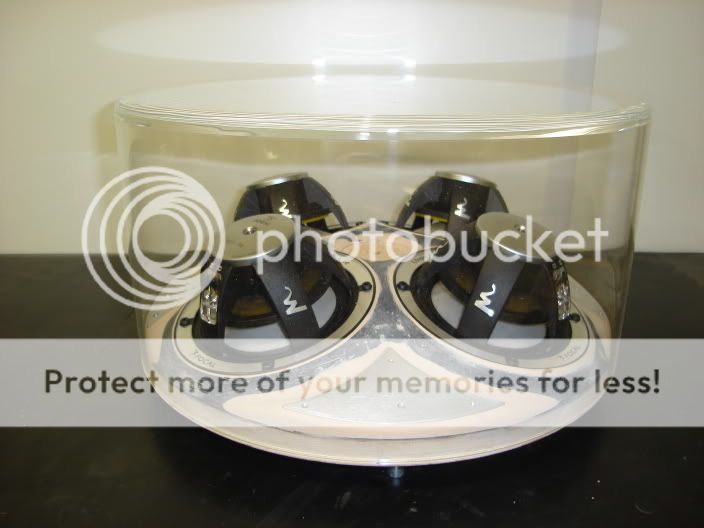
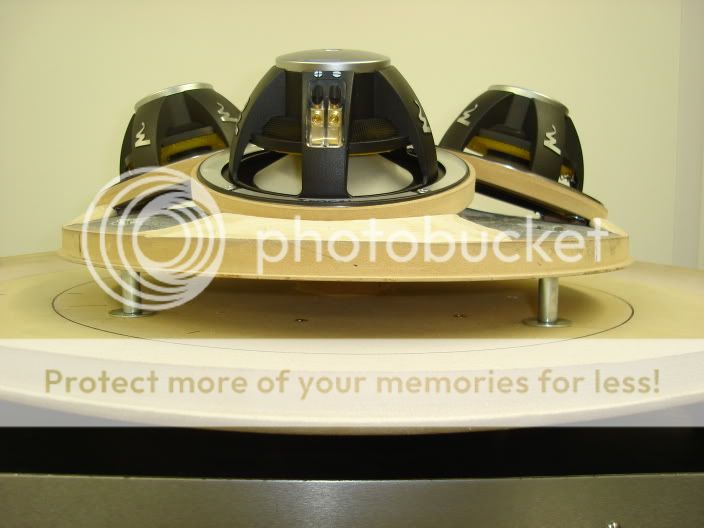
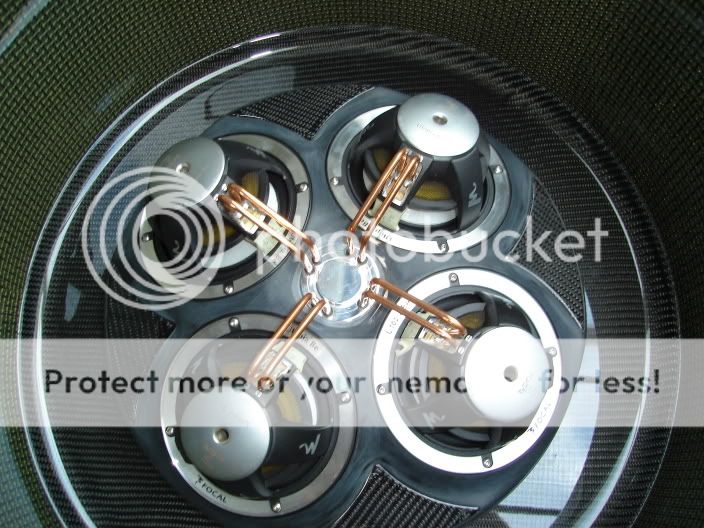
there was always the presure of performing beter . When i began on this project i make the decision ,to make something beautiful en having fun and now presure.I NOT going to compete whit this car..Not whit the speakers on the A pillar, and not with the plexy sub box.
Writing this is not so simple for me.I understand, and speak english but that's everything.i can't write englisch i am translating my words with the help off a translation program.It's not so simple for me to tell everthing in detail. But i hope you will understand.I realy hope to get some comments good or bad.everybody had his opinion about car stereo.
This is the car.


I'll try to explain what it is that i'm building.


For starters: i'm NOT going to compete in a competition what so ever.


I've mounted the speakers in the A-pillars like this with only one perpose: because i liked them to be in that position. I know that mounting them in floorpots would be the best way for soundquality, but i' ve chosen for the "the visual aspect".


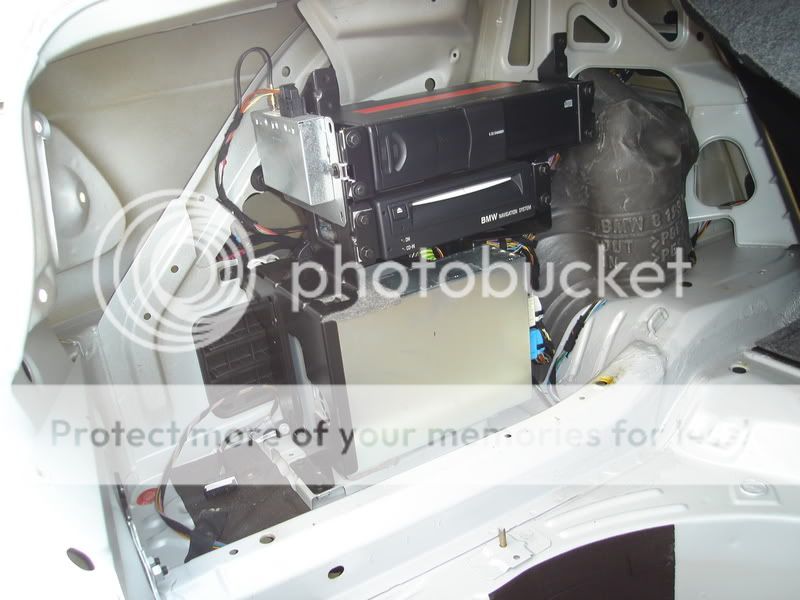
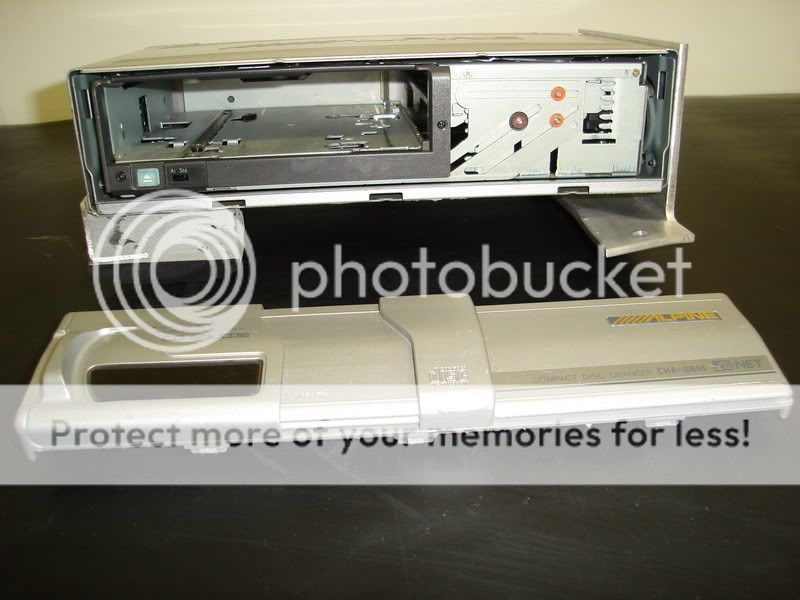
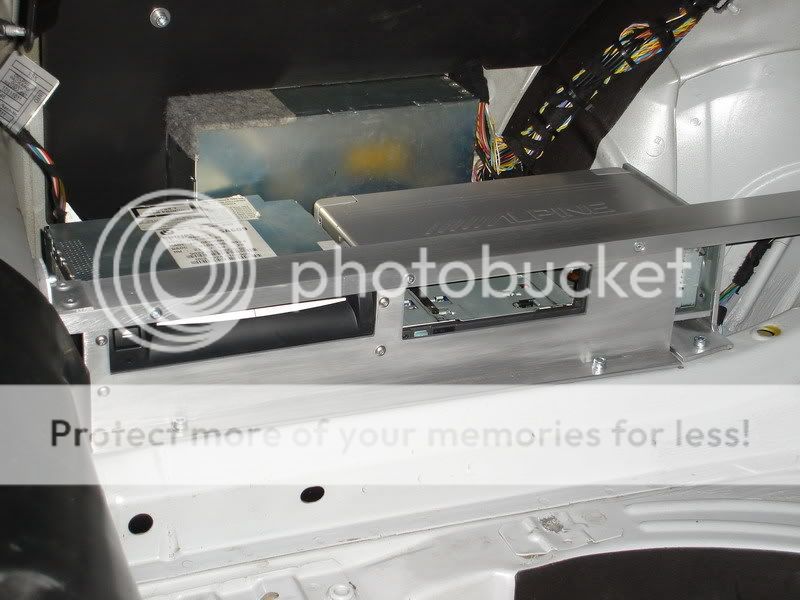
The alpine head unit is mounted in a strange place, because that was the ONLY place available. I didn't want to touch the dash nor the middleconsole.

I've mounted the remotecontrole so that every passenger in the car can use it. That's not what most of the installs with fixed controles have...


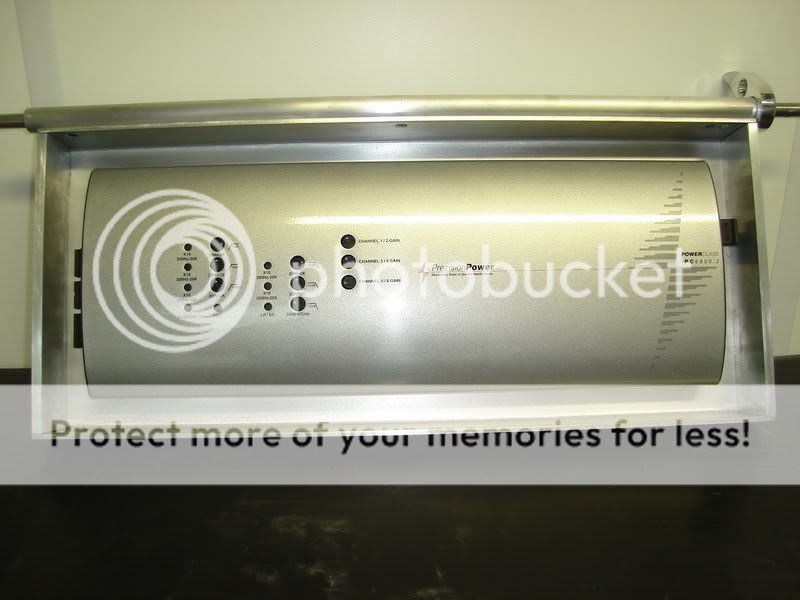
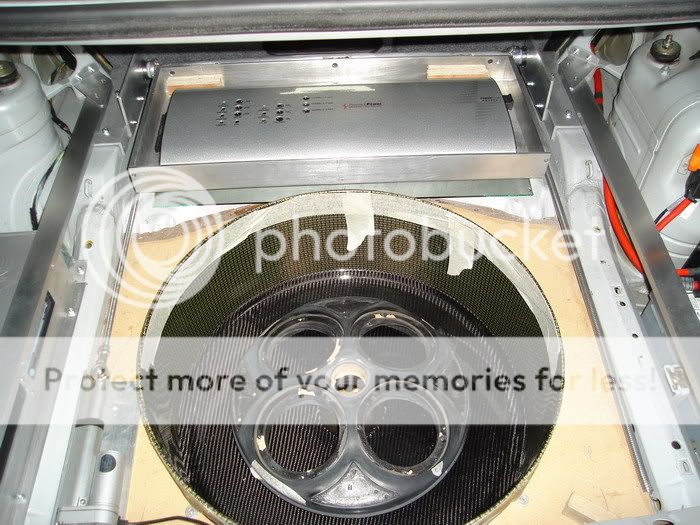
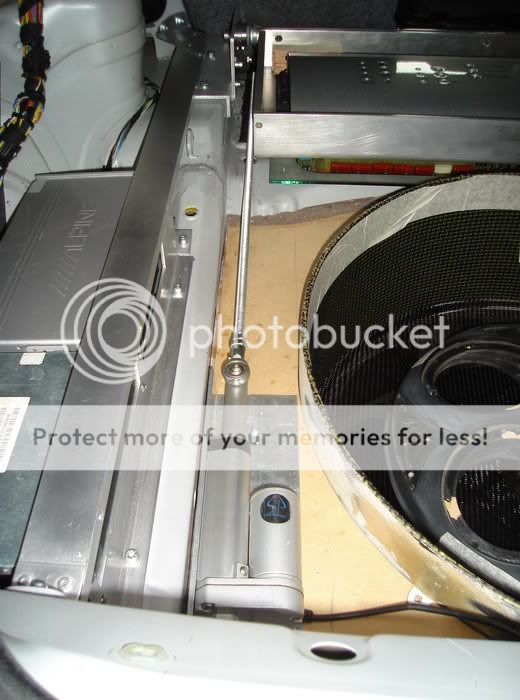
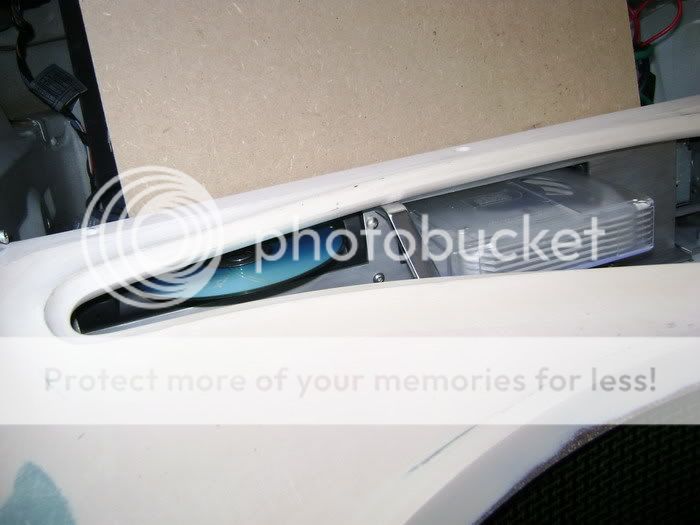
The ppi amp in the trunk will be replaced bij a brand new Focal amplifier.


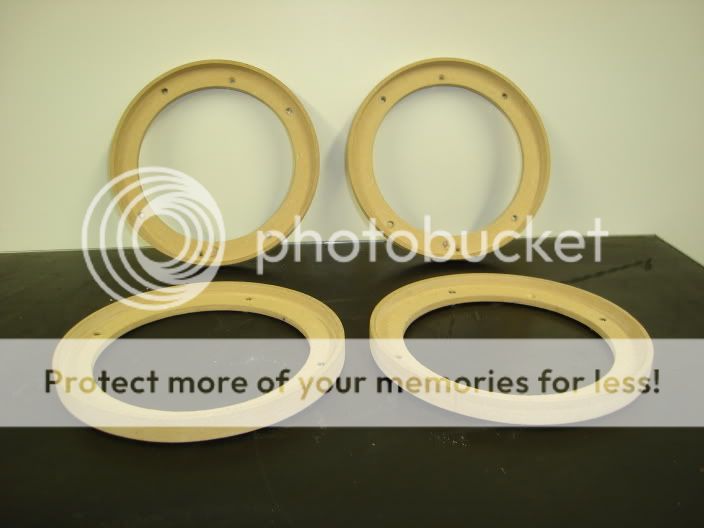
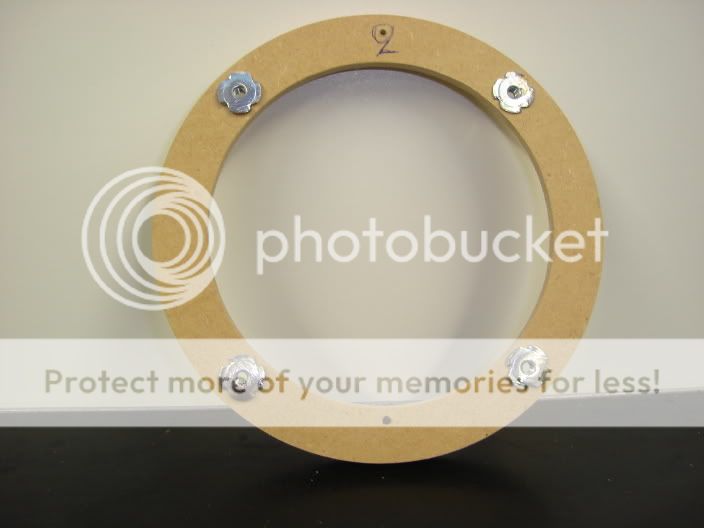
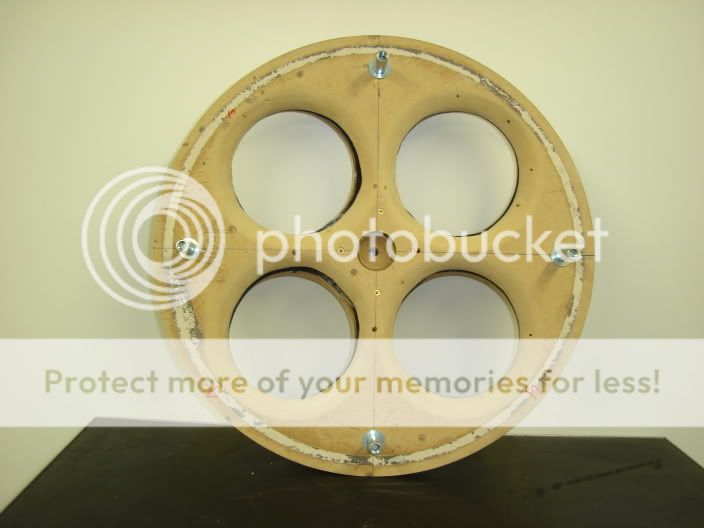
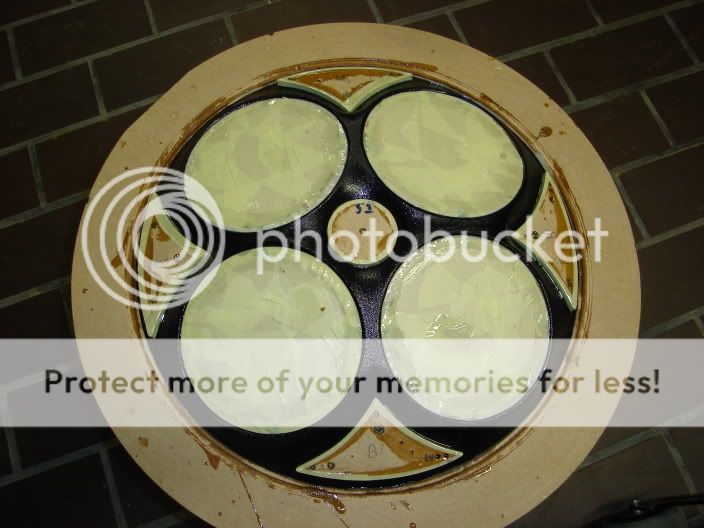
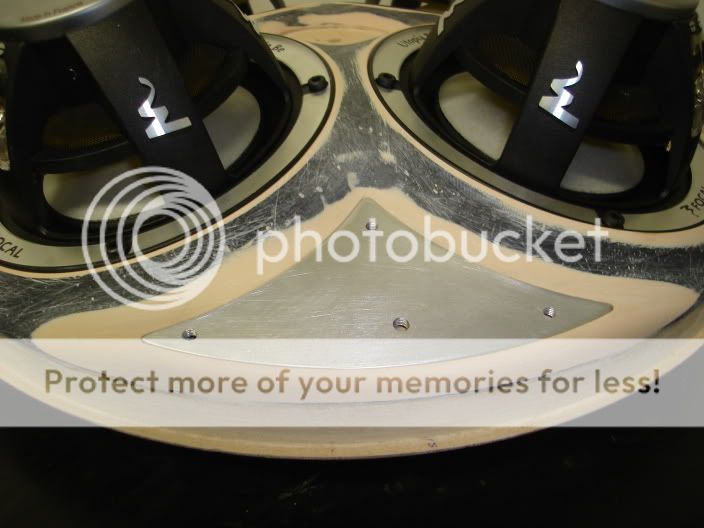
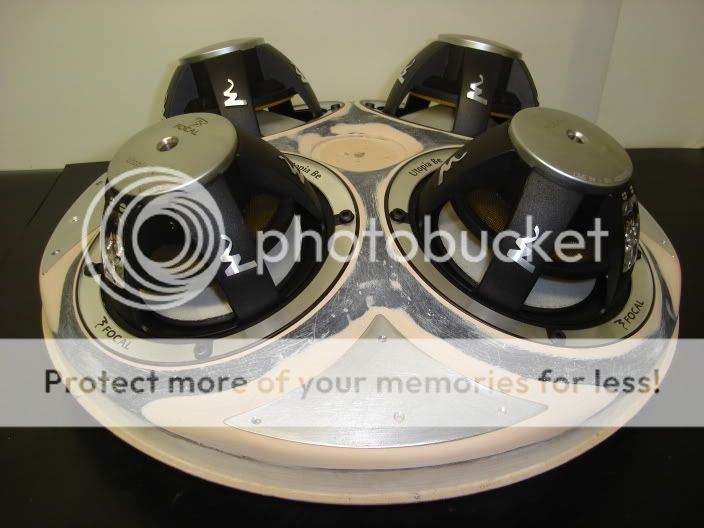
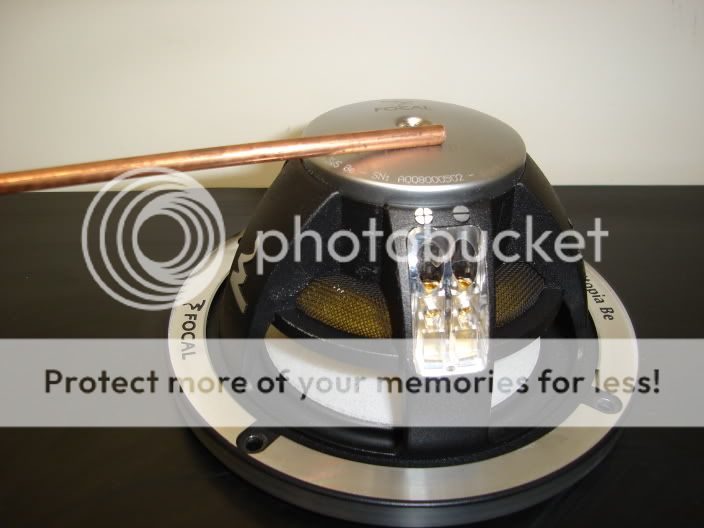
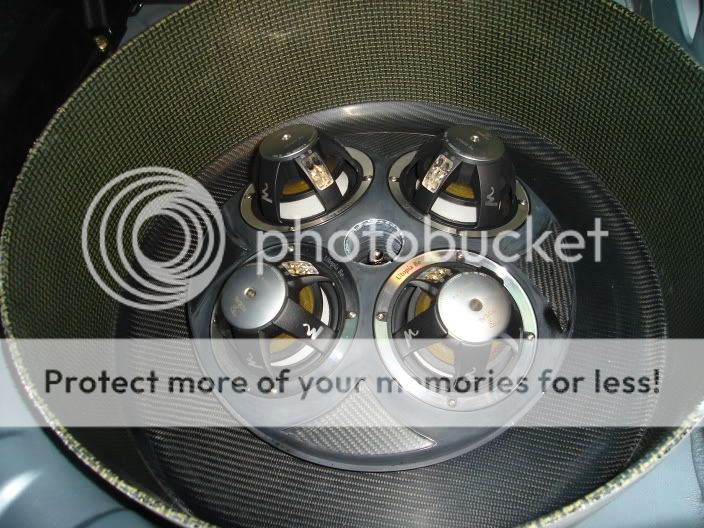
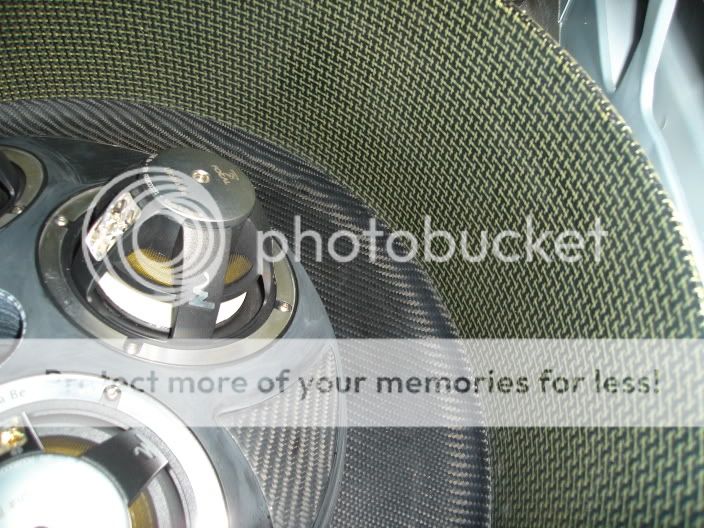
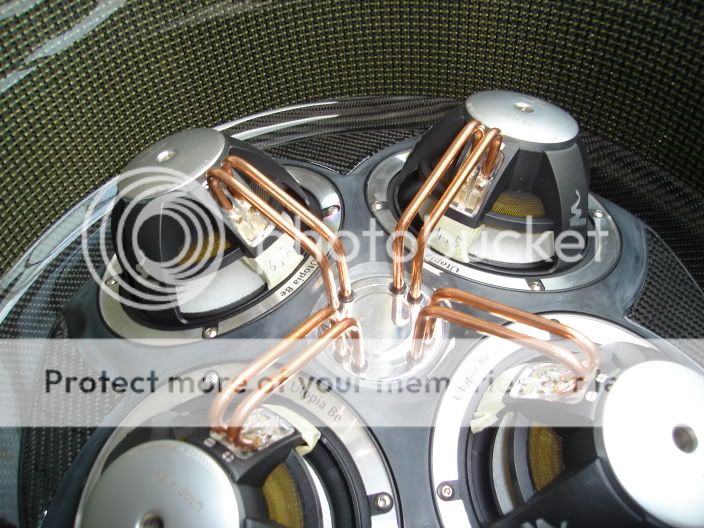
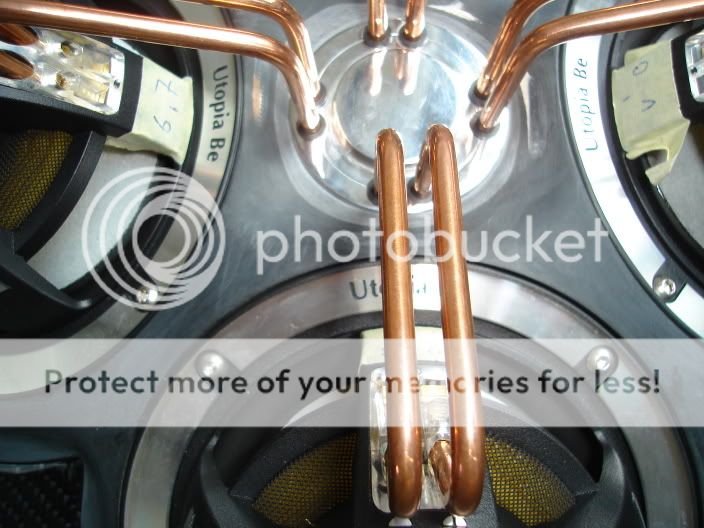
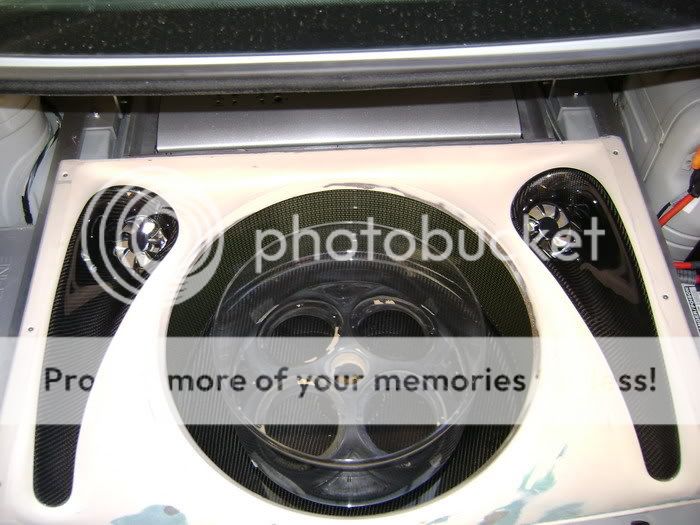
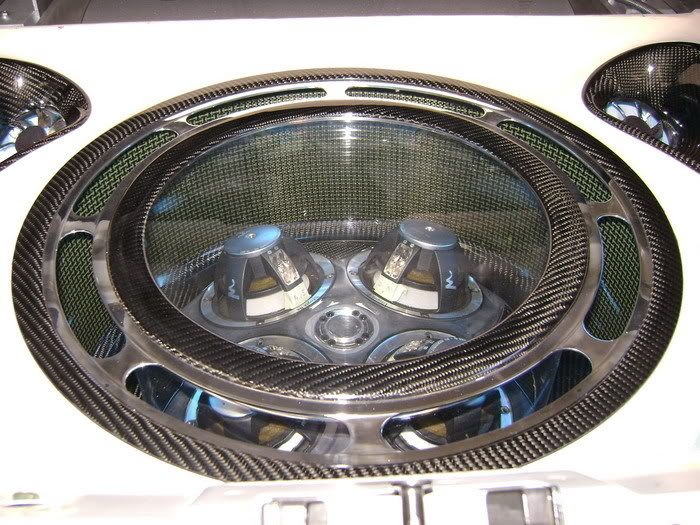
I also know that it's better to play with an MDF subbox and a 10" woofer than with the 5" woofers i use. But, i have to say that i have a lot of experience with the smaller types, so i know what these babies are capable of. So i accepted the challenge.


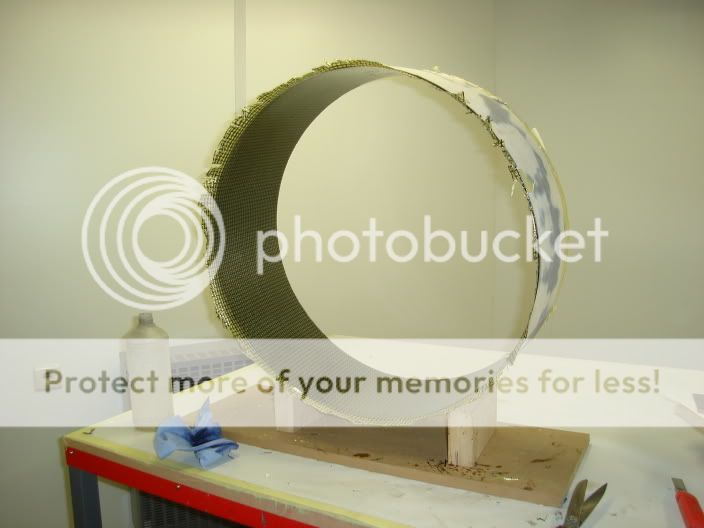
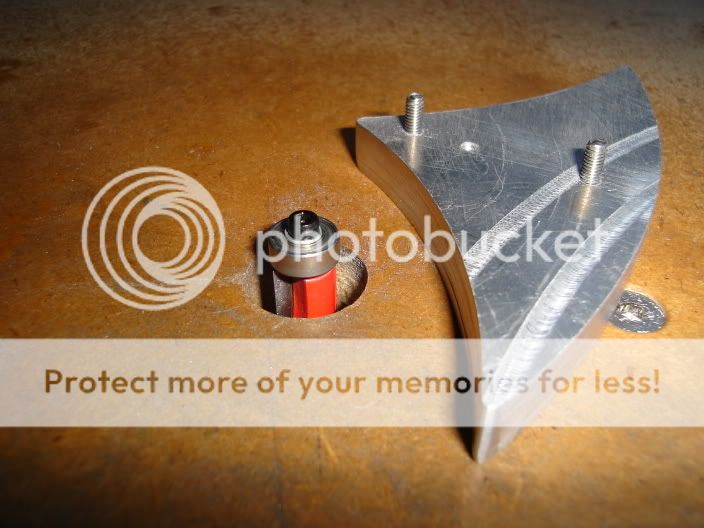
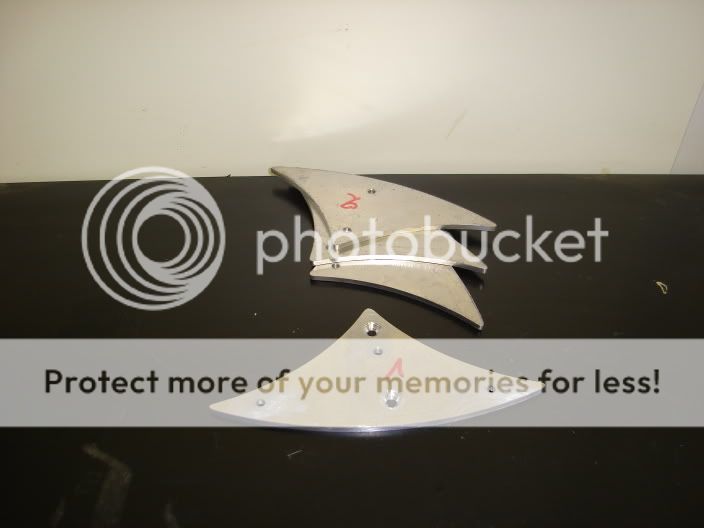
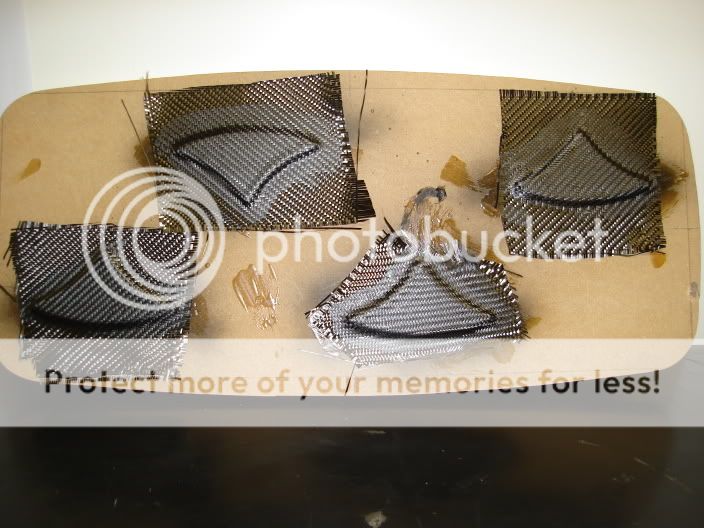
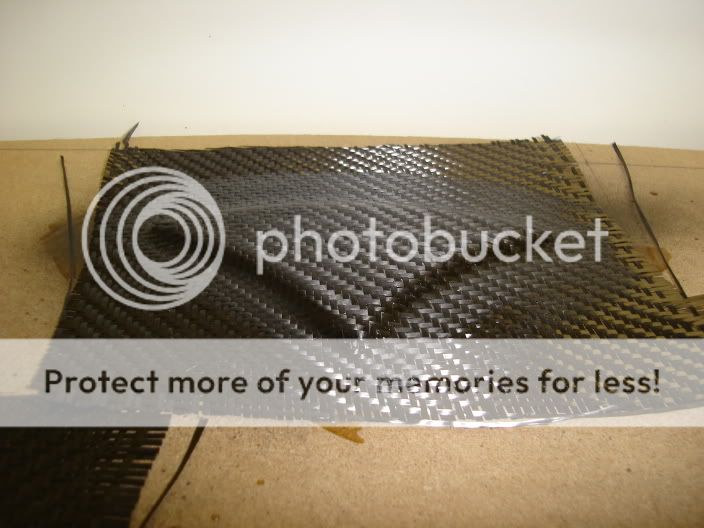
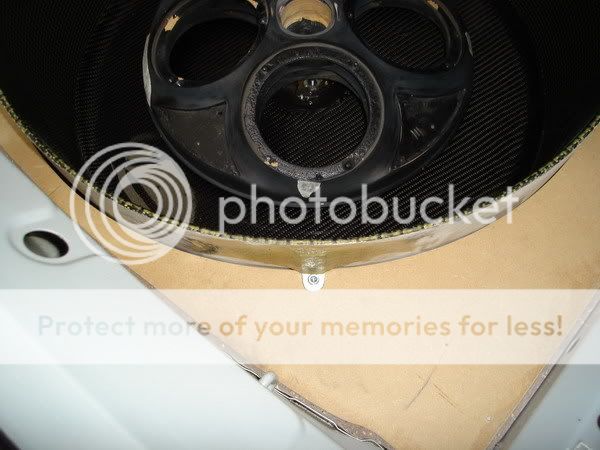
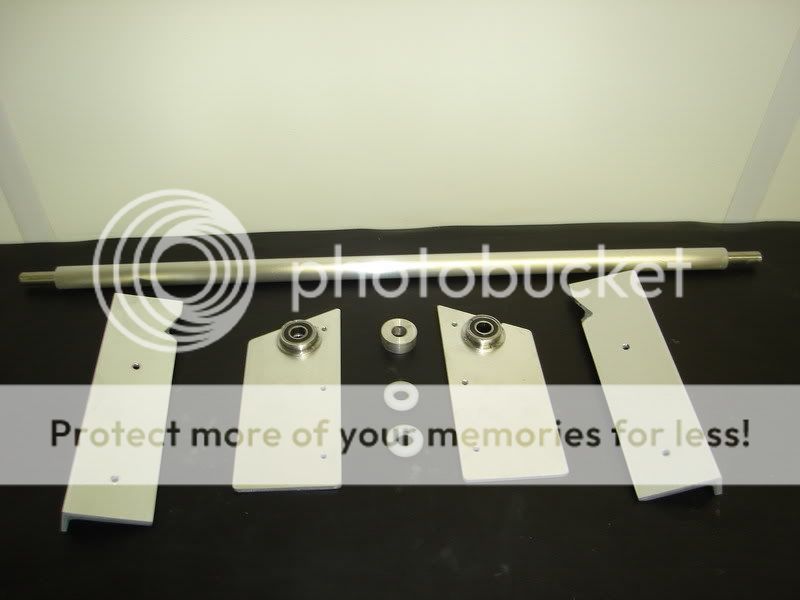
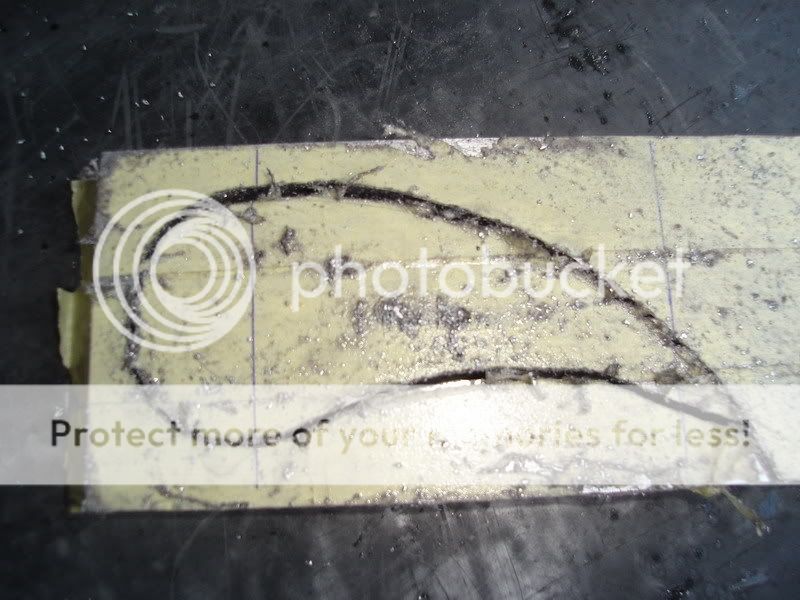
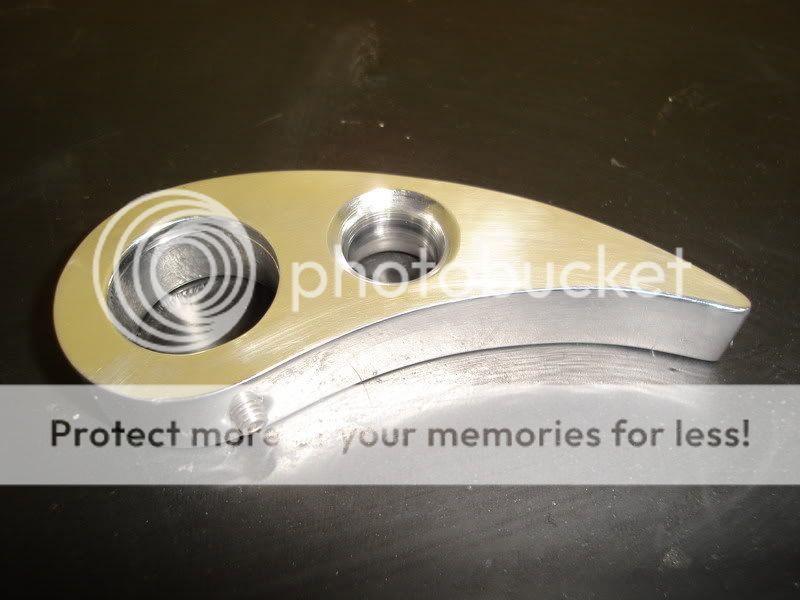
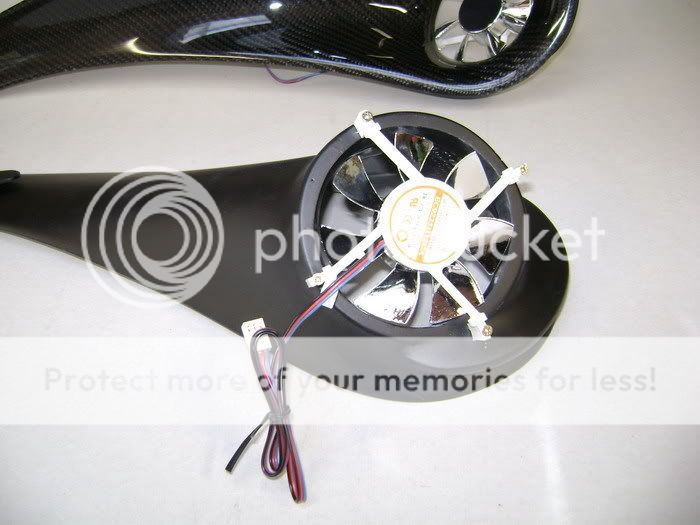
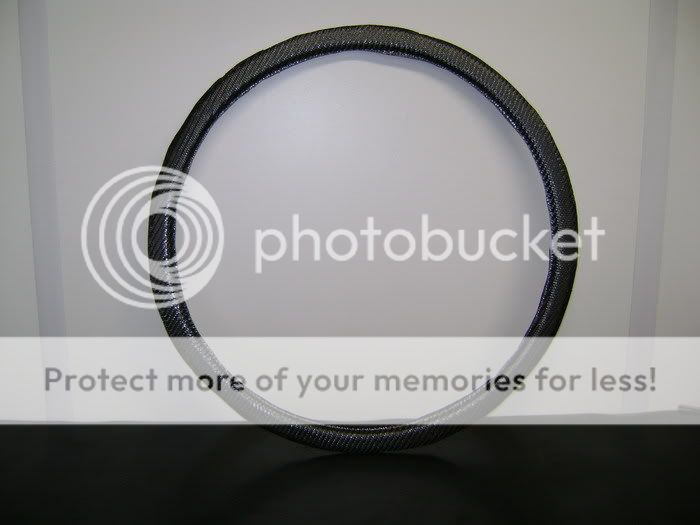
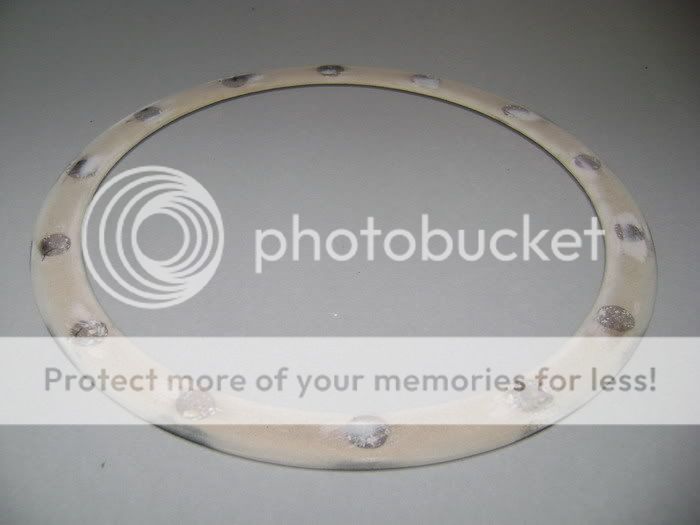
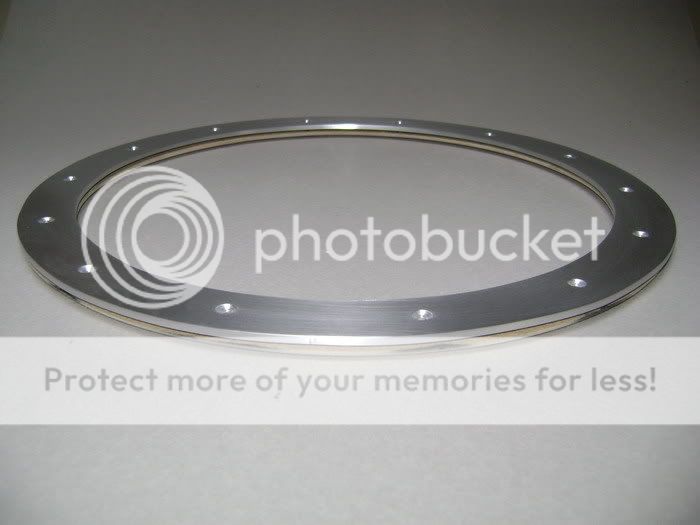
Something about the choise of materials...

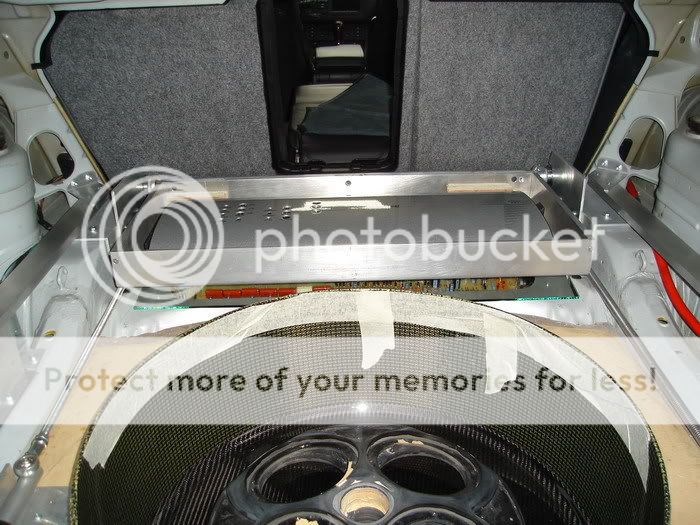
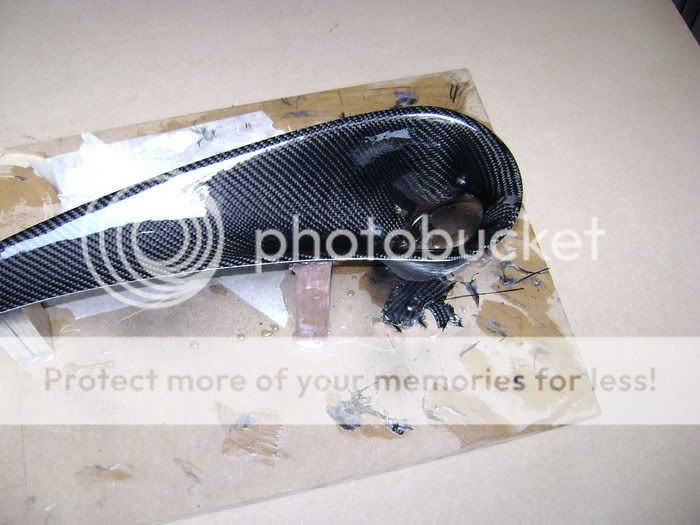
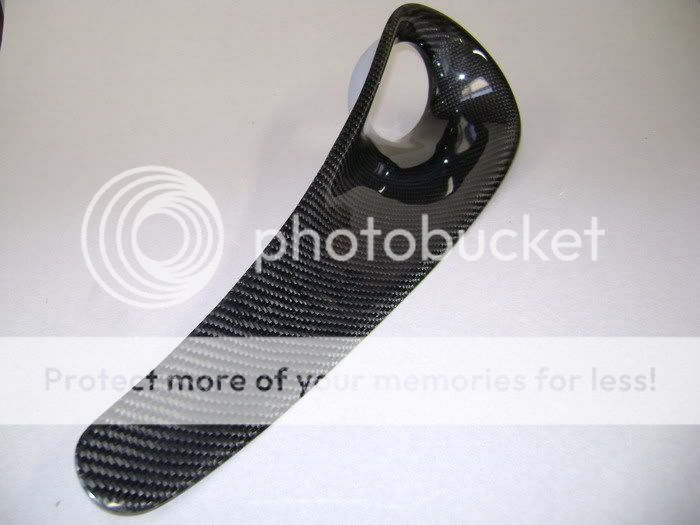
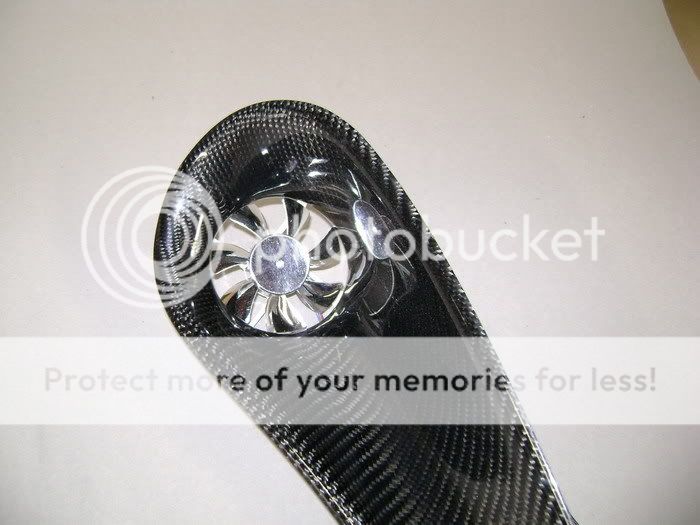
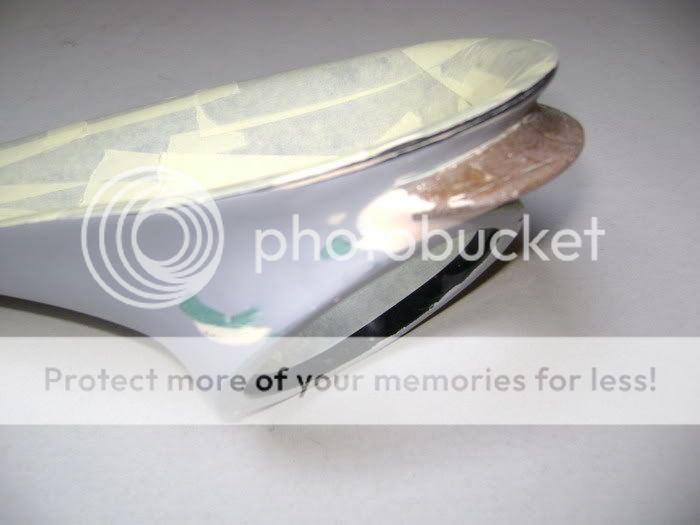
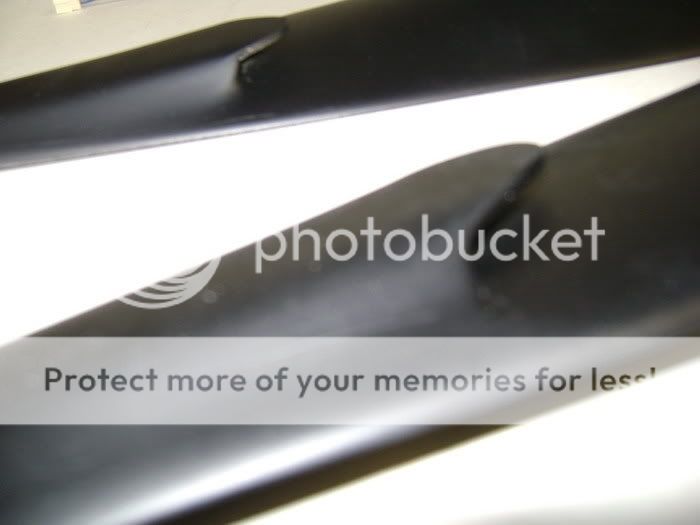
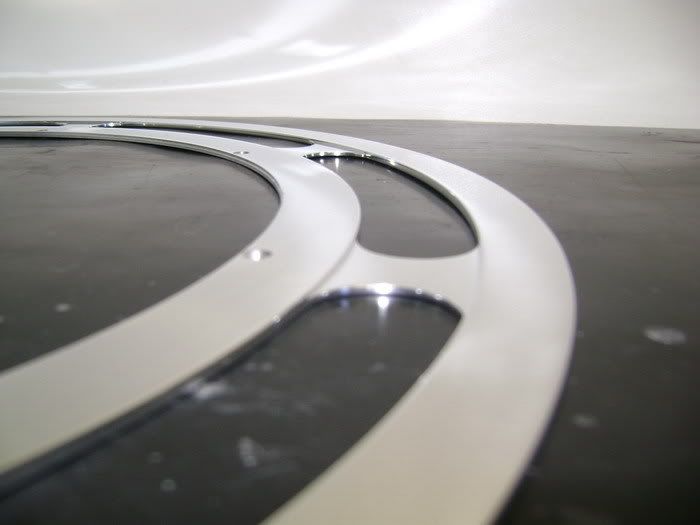
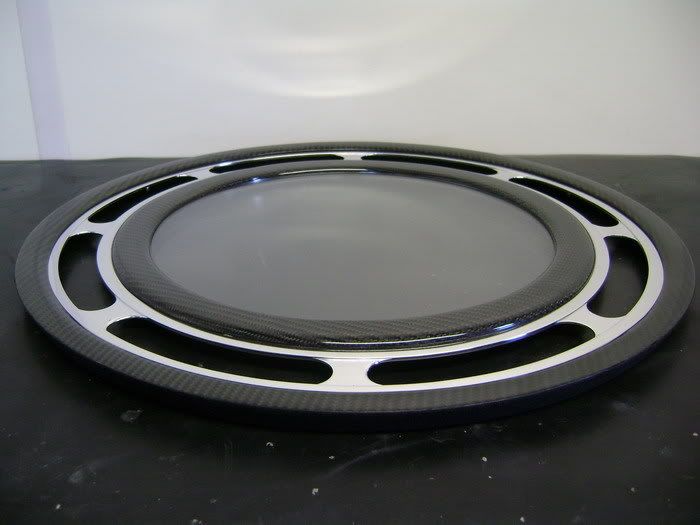
Carbonfibre, carbonkevlar and aluminium aren't everyones favorites, but i love hem, so i'll use them.


I hope you guys can see that this isn't a hobby, but an obsession...

Every free minute i have goes to my BMW.

I don't even know when it will be finished. This year, next year, i don't care. As long as it is 100% perfect.


Conserning the design:

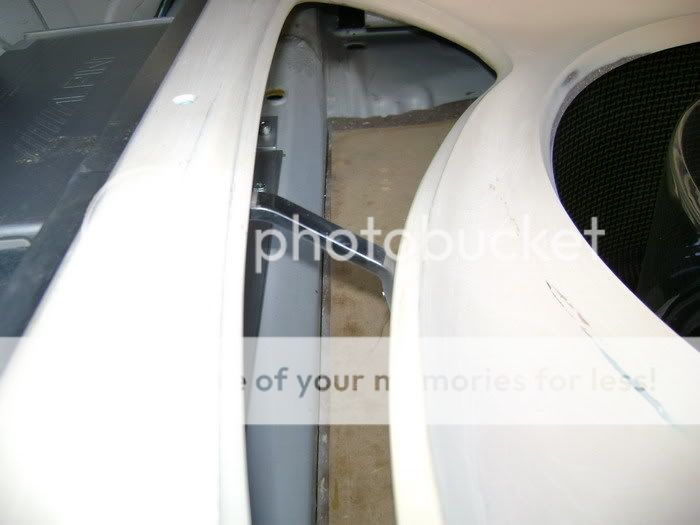
I wanted the keep the interiour intact except for the A-pillars.

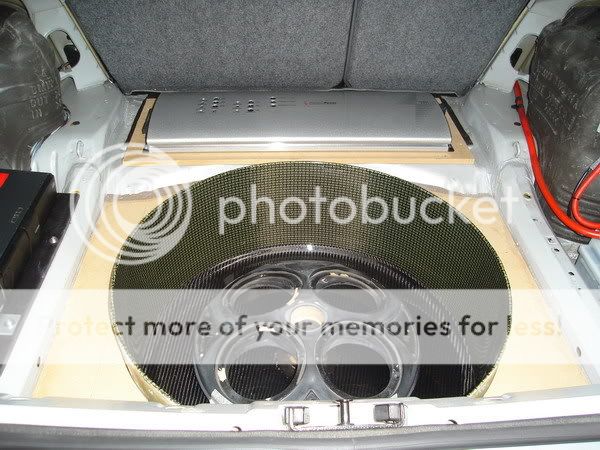
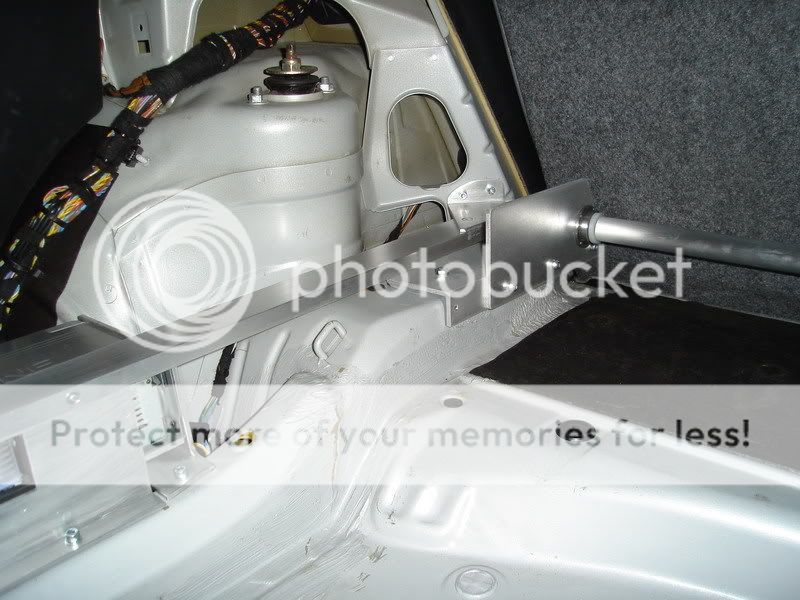
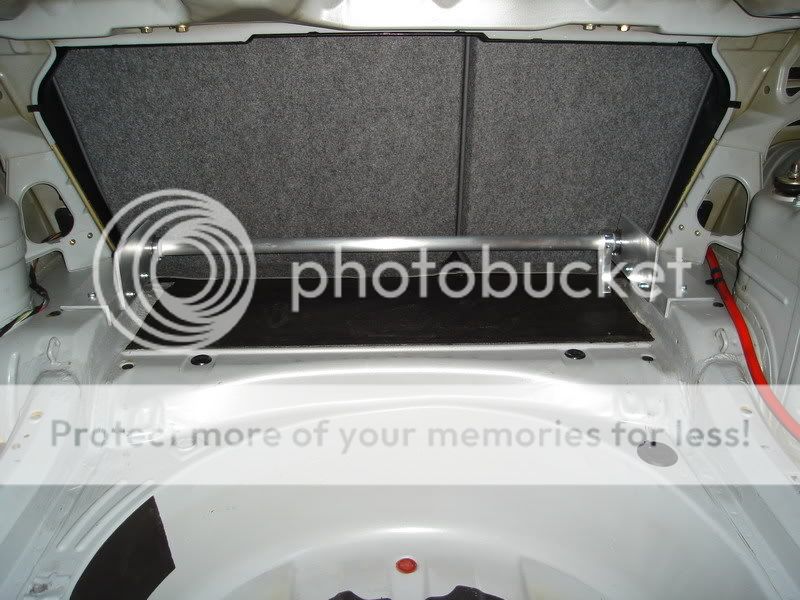
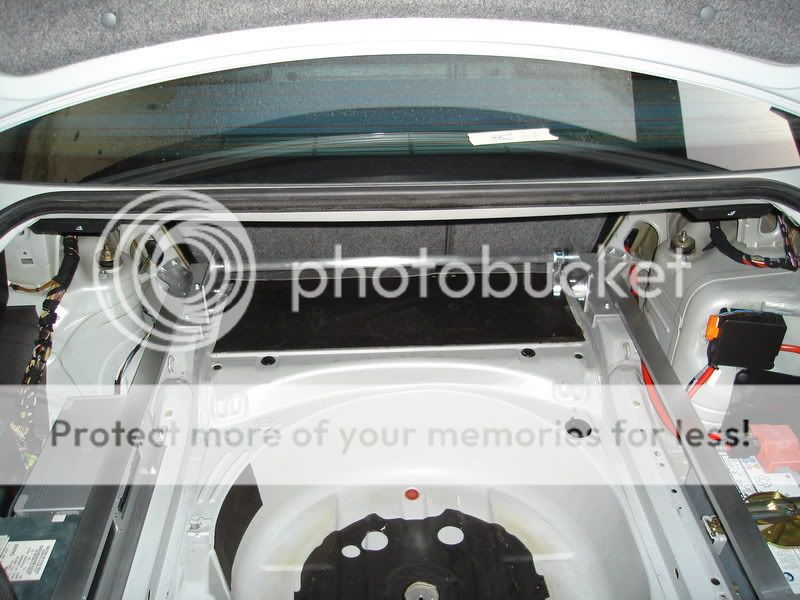
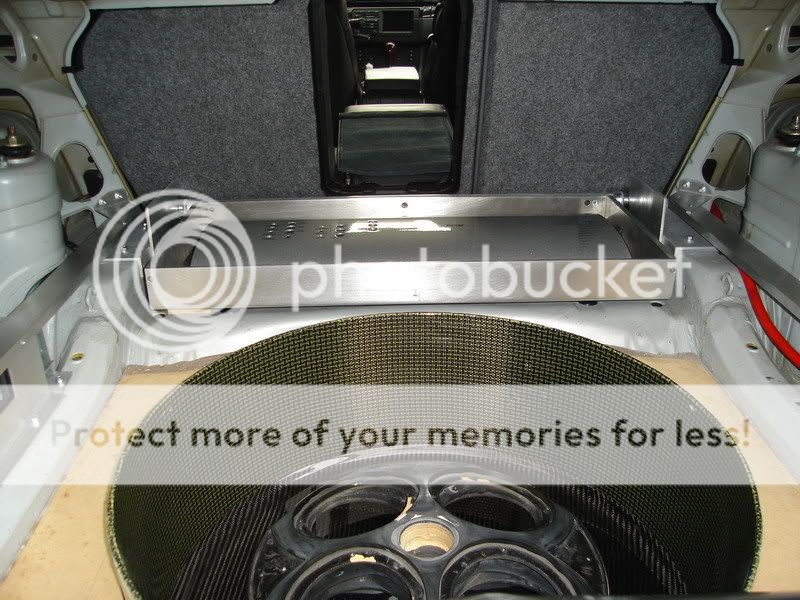
The trunk will be my playground!


Two things were very important for me:

1. No deadlines

2. It really had to look awesome (with the risk of lesser "soundquality")


So i hope i answered most of your questions and that everybody understands what i'm doing and where i'm going to with this install.

Last edited by robolop; 03-09-10 at 19:44.
robolop is offline   Reply With Quote
Old 03-09-10, 19:33   #2
robolop

Stage 2
 
robolop's Avatar
 
Join Date: Sep 2010
Posts: 26
Default Re: ROBolop 323ci


There is still some adaption work.


This will be the Sub-box.

The piece I wanted to cover in Carbonkevlar, I painted black, to be sure the layer underneath won't show.


milled some rings to put the woofers in.


Here a picture of the bottomside, where he made wholes , to let the sound flow outside.


Still some more polyester work to do.
Did some preparation to stretch the cloth nicely.
robolop is offline   Reply With Quote
Old 03-09-10, 19:41   #3
robolop

Stage 2
 
robolop's Avatar
 
Join Date: Sep 2010
Posts: 26
Default Re: ROBolop 323ci

The wholes you can see in the alu, don't worry about it.
It'll be covered in CF..


The next thing on the list is something very difficult.
The connections of the speakers he'll make in copper, of 5mm thickness.
Cables are so boring

some cupper
5mm thickness, more didn't fit in the speaker.


Copper connections are ready.

made a model first, took a mold, and fold it the same way.
Sawed it all, rubbed it, and polished.


On this picture you can see he putt a whole in the bottomside to connect the cables.


The cupper wil go to the middle, so I made a alu plated where the bars fitt right on in.


alu triangles bade in a little CF.


robolop is offline   Reply With Quote
Old 03-09-10, 19:41   #4
robolop

Stage 2
 
robolop's Avatar
 
Join Date: Sep 2010
Posts: 26
Default Re: ROBolop 323ci

some more CF.
This is the bottom plate where the box is put on.
sprayed it in black offcourse, don't want the colour of the wood come throu


Varnished it for the first time, rubbed some more, varnished, rubbed, varnished, rubbed, ...........


robolop is offline   Reply With Quote
Old 03-09-10, 19:42   #5
robolop

Stage 2
 
robolop's Avatar
 
Join Date: Sep 2010
Posts: 26
Default Re: ROBolop 323ci

started to make the bottomplate. She will be around the BOX and rest on the chassis of the car. did it as good as possible. Leveled it with waterleveler.
Once this plate is right, you take the messurements always from this plate, so it has to be 100% correcT.


milled to upperboard


robolop is offline   Reply With Quote
Old 03-09-10, 19:43   #6
robolop

Stage 2
 
robolop's Avatar
 
Join Date: Sep 2010
Posts: 26
Default Re: ROBolop 323ci

Started to make a hinge. He went to see the store, but they didn't had what he needed. So got some aluminium ..


The meaning of this hinge, is that the amplifier can go up. So the crowbar needed to be something nice.
Cause the crowbar wil be very shot/small, he made it strong enought. (15mm thickness)


there are nicer things in life to do, but when it's finished, it was worth the work in his eyes.


Against the alu tube, he's going to weld a piece to, where he can hook the amp on.


robolop is offline   Reply With Quote
Old 03-09-10, 19:44   #7
robolop

Stage 2
 
robolop's Avatar
 
Join Date: Sep 2010
Posts: 26
Default Re: ROBolop 323ci

Then I started to tair apart the Alpine CD player.
Did away the front, and made some trolleys to fasten the thing.


here you can see the front of the CD player


The ALU- box where the amp should come is foreseen with the hinge.
This one, he screwed on. I going to try it'l go this way.
If not, he can always weld it on...
I doesn't want to try it now, cause he's afraid it all bend of the heat.
But it's a final option...


Will look like......

put some movement in the amp.


Made a fiberglass plate.
Here will be some change soon, but you have to start somewhere.


found some vents that you can take from each other.
These are from aluminium, but the frame they're in, goes in the bin.
There will be an -minor modded- version of it


2 pieces to place in the vents, so the cooling on the amp will be better.
robolop is offline   Reply With Quote
Old 03-09-10, 19:45   #8
RoByNeT
AirRide Lover

Stage 5
 
RoByNeT's Avatar
 
Join Date: Jun 2008
Posts: 6,023
Member of:
[Moderators]
[Observator 4tuning]
[PARTICIPANT CURSE]
[BMW]
[SKODA]
[4Rally]
[Competitor CNCA]
[STREETMANIACS]
[AUDI]
Default Re: ROBolop 323ci

Hi there. My english is not the best either but I will try to make conversation. Your car looks very good at the exterior. If you can please upload more fotos. About the music, i'm not a bass addict but i always enjoy an audio track when I am driving. It looks like you really know what you are doing there . Me and the rest of the forum i think are waiting for some more fotos. And by the way. Welcome to 4tuning


EDIT: i posted before the fotos Really nice.
__________________

RoByNeT is offline   Reply With Quote
Old 03-09-10, 20:04   #9
robolop

Stage 2
 
robolop's Avatar
 
Join Date: Sep 2010
Posts: 26
Default Re: BERYLLIUM BMW 323ci

Some chinese sticks


put them together


painted with polyester/fiberglass


rubbed and filled, filled and rubbed


this will be carbonized

robolop is offline   Reply With Quote
Old 03-09-10, 20:05   #10
robolop

Stage 2
 
robolop's Avatar
 
Join Date: Sep 2010
Posts: 26
Default Re: BERYLLIUM BMW 323ci

The pieces are finally done.
all that work, pppfffffff, but it was worth it .


Here's a picture from the front. You can see a V where everythings slides into.

Then he fiberglassed a little alu piece that is fastened bigtime.


In the whole those things are layed into, fiberglassed a firm alu bridge, and there the backside slides into.


These things have to come out really fast, cause his GPS and CD loader is behind it.

robolop is offline   Reply With Quote
Old 03-09-10, 20:06   #11
robolop

Stage 2
 
robolop's Avatar
 
Join Date: Sep 2010
Posts: 26
Default Re: BERYLLIUM BMW 323ci

I made a grill, to cover the sub-box.
The frame es milled out of MDF wood.
Here you can see the top of the upper ring. This one, you will see, and will be covered in Carbon

On the picture, you can see he miled a little ditch.


covering the frame in Carbon


robolop is offline   Reply With Quote
Old 03-09-10, 20:06   #12
RoByNeT
AirRide Lover

Stage 5
 
RoByNeT's Avatar
 
Join Date: Jun 2008
Posts: 6,023
Member of:
[Moderators]
[Observator 4tuning]
[PARTICIPANT CURSE]
[BMW]
[SKODA]
[4Rally]
[Competitor CNCA]
[STREETMANIACS]
[AUDI]
Default Re: BERYLLIUM BMW 323ci

RoByNeT is offline   Reply With Quote
Old 03-09-10, 20:07   #13
robolop

Stage 2
 
robolop's Avatar
 
Join Date: Sep 2010
Posts: 26
Default Re: BERYLLIUM BMW 323ci

This will be the inner-ring, what goes in the grill.
First I mild a MDF wooden ring and rounded the edges. What you see now is the upperside. Comes in CF btw

this is the bottomside. You see I made some screwbusses in it.


Made an alu ring of 3mm thick for on the bottomside. Must be very solid so the grill can't bend in the middle.


Here you see the 2 parts on each other. Between there's 2mm place for the innox plate on the outside, and the alu from in the centre.


The middle ring going into Carbon Fibre. Need some more layers of epoxy though..


robolop is offline   Reply With Quote
Old 03-09-10, 20:07   #14
robolop

Stage 2
 
robolop's Avatar
 
Join Date: Sep 2010
Posts: 26
Default Re: BERYLLIUM BMW 323ci

Took the uppermill and started the outer-ring.


Started to begin polishing. Is a heck of a job, people who polished with heavy machinery before know...
It's kinda hard to do this without the brushes hacking into the alu..

I did this:
Screw the piece on a piece of wood that you can hold on tight.
1) you won't burn ya fingers/hands on the alu
2) the brush can't bite himself into sth


robolop is offline   Reply With Quote
Old 03-09-10, 20:08   #15
robolop

Stage 2
 
robolop's Avatar
 
Join Date: Sep 2010
Posts: 26
Default Re: BERYLLIUM BMW 323ci


As you can see, the whoel sub part is see-able and yet, it's covered with real glass I can clean as much as he wants, without making scratches.
The nice thing about this grille, is that I made it with a simple milling tool. This is the proof everyone can make something really nice, with non-expensive equipment.
robolop is offline   Reply With Quote
Reply


- Copyright 2024 4Tuning -