Daca ai probleme cu semeringurile de supapa si segmentii sunt buni atunci ghidul de mai jos iti vine in ajutor.
Original Link
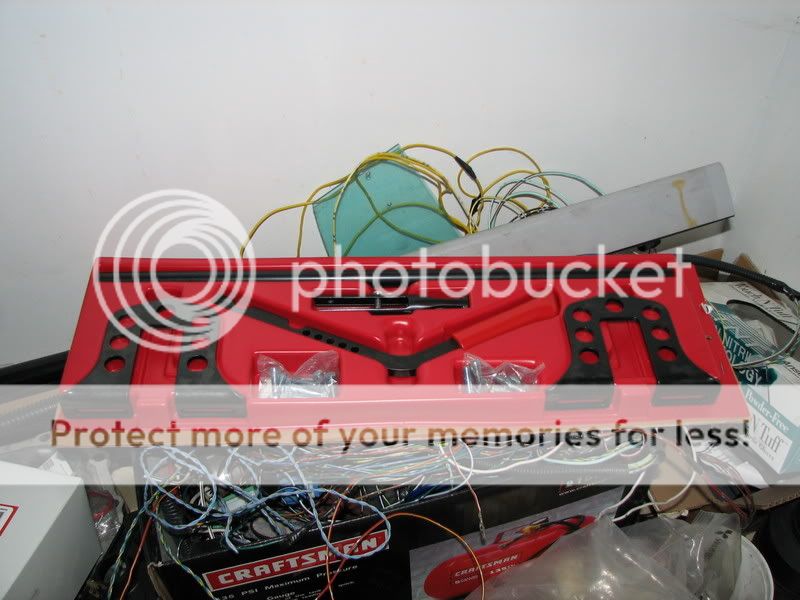
Universal Valve Sping Compressor
This is what I did this weekend. Here's my writeup.
 PREREQUISITES:
- This install assumes you know how to remove the timing belt and cams and starts after you�ve removed the timing belt and cams from the engine.
- I would say that removing the timing belt is a definite must for this job. Once you fill the combustion chamber with compressed air, the piston moves to its bottom position. This may possibly cause an un-tensioned timing belt to jump at the crank.
- This is pretty much a 2 person job. One person needs to compress the valve springs while the other removes the valve keepers.
- It may be a good idea to have some extra valve keepers on hand before doing this procedure.
- Wear safety glasses!
TOOLS REQUIRED:
1. Schley Products Universal Valve Sping Compressor (P/N SP 91400)
Direct link to where I bought mine:
http://www.tooltopia.com/index.asp?P...OD&ProdID=8314
2. Extension Pipe for valve spring compressor
- I just took the pipe off my floor jack
3. Air Compressor
4. Spark plug hole air line adapter
- I took the adapter from my compression tester. The tube that goes from the fitting to the gauge has a check-valve on it and doesn't allow air to flow into the cylinder.
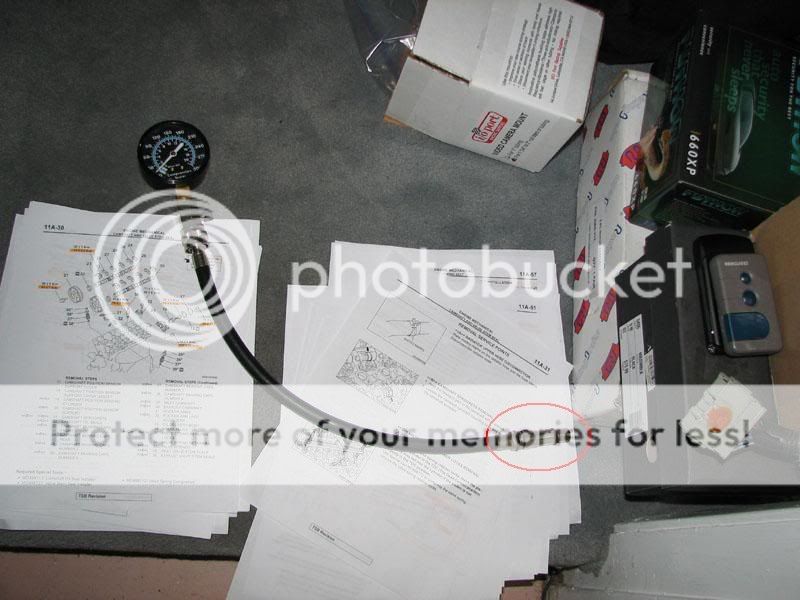
- The threads on the adapter are 3/8� NPT. I went to the local hardware store and picked up the appropriate fittings to create my adapter.
5. Magnetic Pen

6. Straight Needle Nose Pliers
7. Angled Needle Nose Pliers
8. Rags
9. Good lighting
INSTALL:
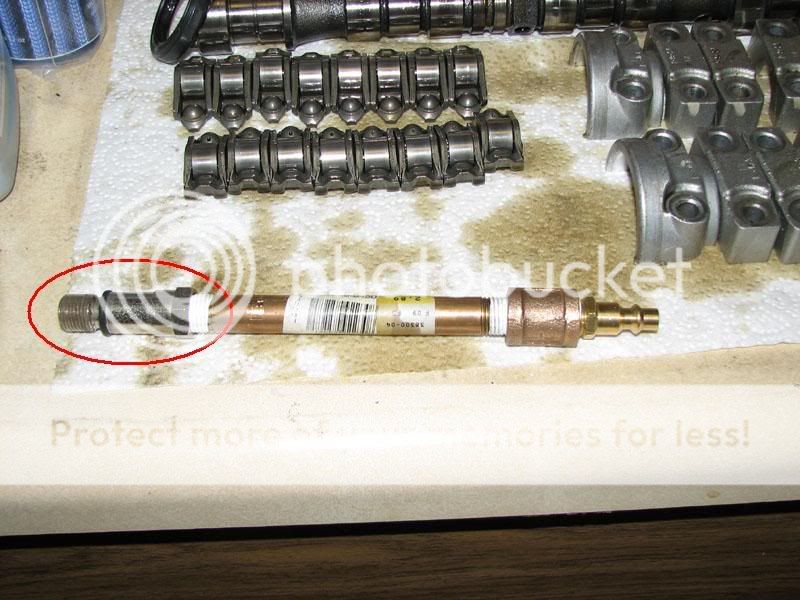
1. Remove spark plugs
2. Screw the air line adapter into appropriate cylinder�s spark plug hole.
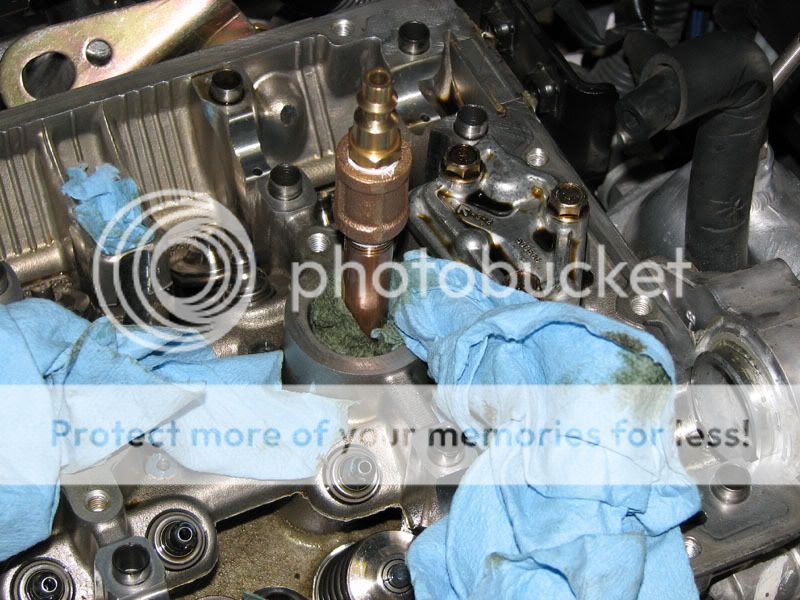
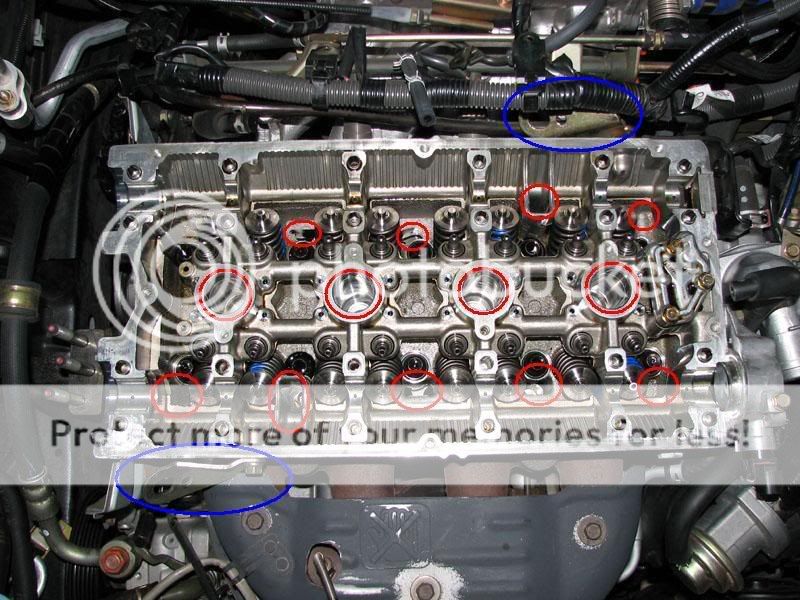
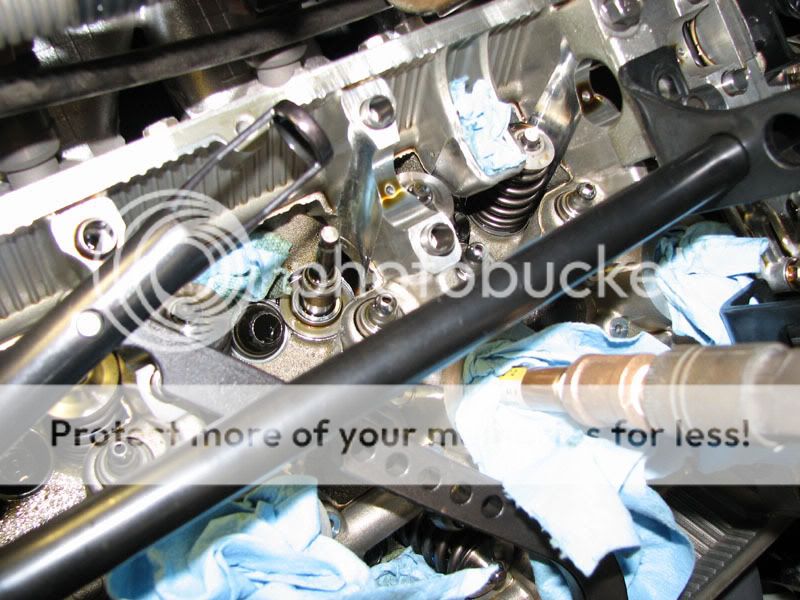
3. Use rags and plug all oil drain passages and spark plug holes (shown below in red).
4. Loosen engine hanger bolts and rotate hangers out of the way (shown below in blue).

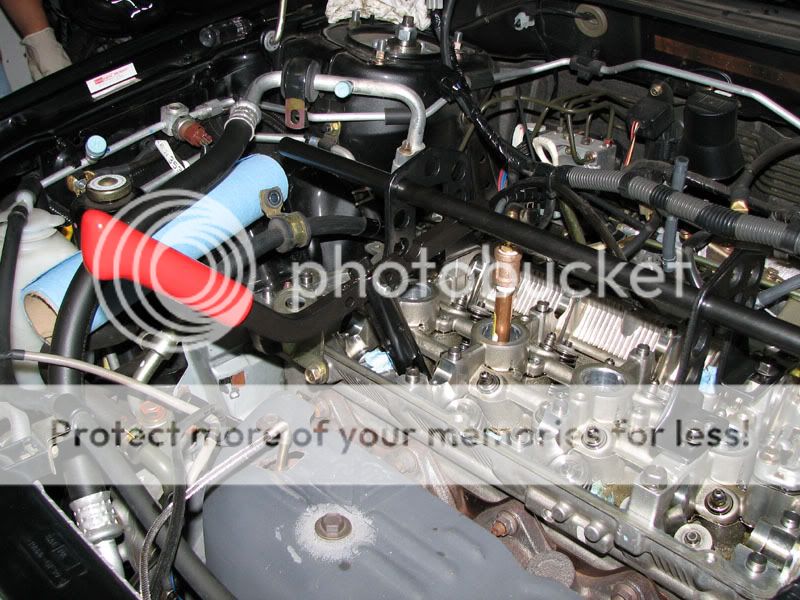
5. Reinstall cam caps to mount the valve spring compressor.
6. Bolt valve spring compressor to tops of cam caps.
Exhaust valves config:
Intake valves config:
7. Hook up air compressor line to engine
- Anything above 65 psi should be enough. I went up to as high as 95 psi.
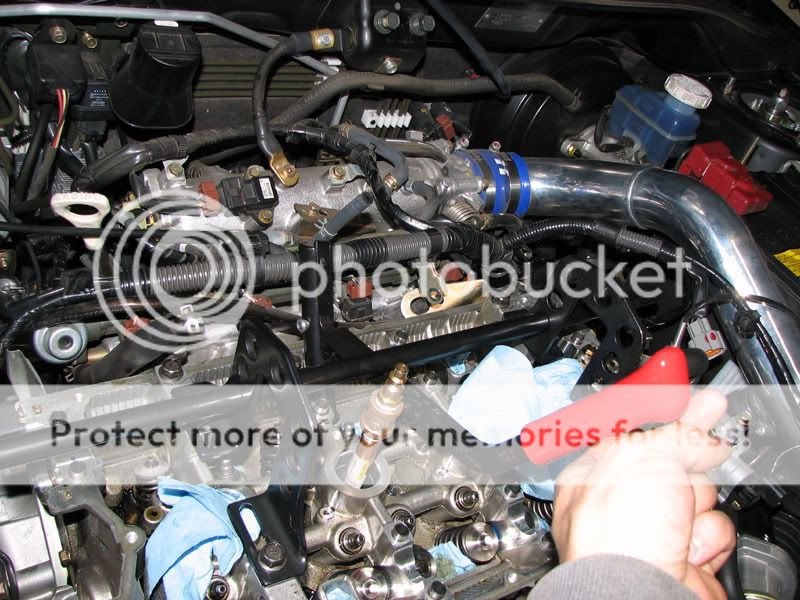
8. Compress valve springs
- Using an extension pipe on the compressor handle will make it a lot easier to hold the valve spring compressed.
- Coaxial alignment of the spring compressor with the valve is critical in freeing the keepers. If your keepers are sticking, perhaps the valve spring compressor position needs to be adjusted slightly to help it line up coaxially with the valves.
- I moved the posts of the valve spring compressor to different cam caps if they got in the way and prevented coaxial alignment of the tool.
9. Remove valve keepers
- The magnet pen works really well to pull the keepers off the valve.

10. Remove stock valve springs and retainers
- Stock spring and retainer vs. Brian Crower spring and retainer:
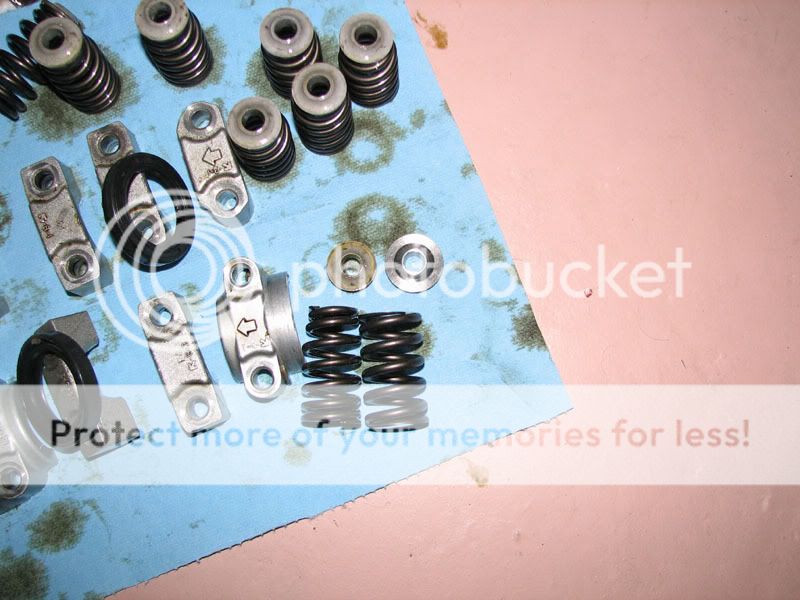
- Spring and retainer removed:
11. Install new valve springs and retainers
12. Compress valve springs
13. Reinstall valve keepers
- This is the trickiest part of the install. It requires patience and precision.
- I used needle nose pliers to place the keepers on the valves.
- I used a plastic pick to help position the keepers.
- The valve springs can be slightly decompressed to help move the keepers into place.
- A pry bar or screwdriver can be used to help the retainer line up better (coaxially) w/ the valves.
14. Uncompress valve springs (SLOWLY!)
- Be sure the keepers are positioned properly before uncompressing the valve springs completely.
15. Repeat for all valves.
- Don�t forget to move the compressed air line to appropriate cylinder!
16. Done!

 INSTALL NOTES:
- I removed my front strut tower bar for more clearance.
- I did all the exhaust valves first and then did all the intake valves.
- Try not to lose any keepers! I almost did, but luckily found it on the ground.
- And lastly, take your time and be patient!
DISCLAIMER
Understand the risks involved with this install before attempting it. Please use caution when performing this procedure to your vehicle. Use the information provided as a guide only as there may be better ways of performing these tasks. I am in no way responsible for any damage that may occur to your vehicle or any bodily injury sustained as a result of your work.


